Now Reading: Storage-Savvy Kitchen Island Ideas That Will Blow Your Mind
-
01
Storage-Savvy Kitchen Island Ideas That Will Blow Your Mind
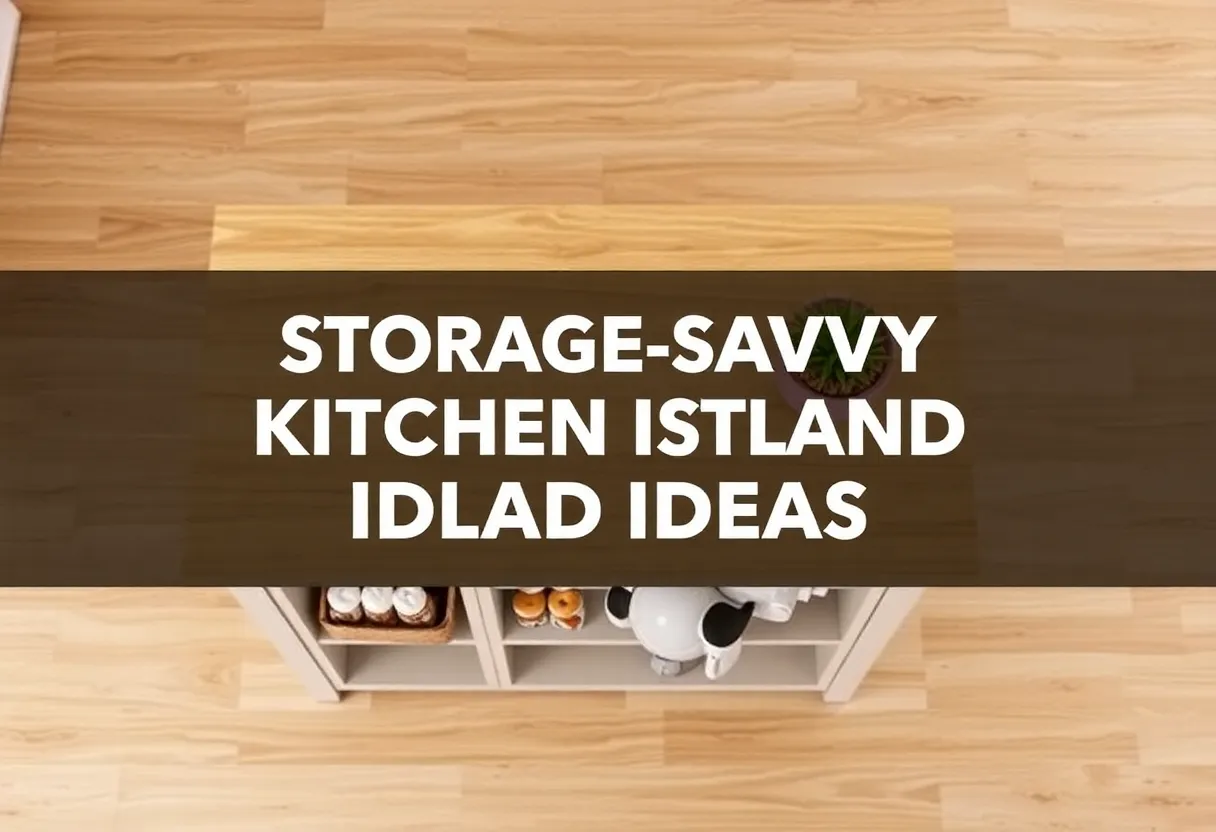
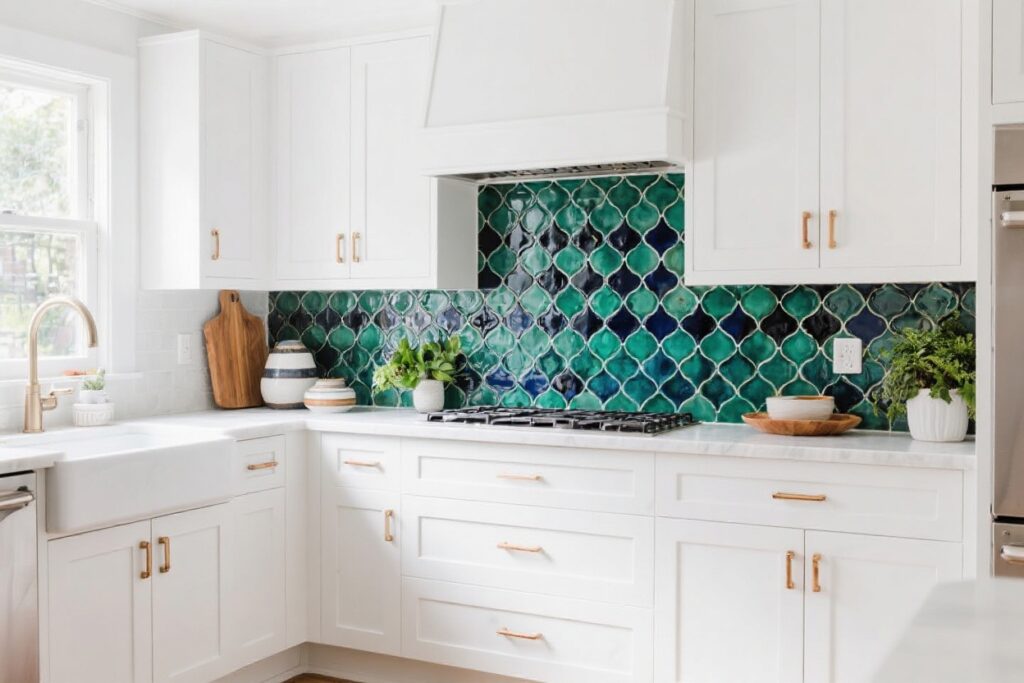
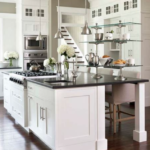
Imagine a kitchen island that doesn’t just sit there looking pretty but actually solves your storage nightmares. No more cramming pots into dark corners or playing Jenga with your spice jars. These ideas aren’t just functional—they’re game-changers.
Think pull-out drawers for your air fryer, hidden trash bins, and shelves that rotate like a lazy Susan on steroids. Why settle for basic when your island can work harder than your coffee maker on a Monday morning? Let’s get into it.
Why These Kitchen Island Ideas Are Next-Level

Most kitchen islands are wasted space—a flat surface with maybe a couple of drawers if you’re lucky.
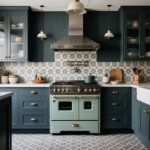
These storage-savvy designs turn that dead zone into a multitasking powerhouse. They maximize every inch, keep clutter invisible, and make your kitchen flow like a well-oiled machine. Plus, they look sleek enough to make your neighbors jealous.
Who doesn’t want that?
Ingredients for a Storage-Savvy Kitchen Island
- Pull-out drawers: For easy access to pots, pans, and small appliances.
- Hidden trash/recycling bins: Because nobody wants to see yesterday’s pizza box.
- Rotating shelves or lazy Susans: For corner cabinets that actually work.
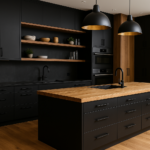
- Open shelving: Display your prettiest dishes without sacrificing function.
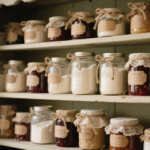
- Built-in spice racks: No more digging through a chaotic drawer.
- Overhead hanging racks: Free up cabinet space for things you never use.
- Charging stations: Keep devices out of the way but fully charged.
Step-by-Step Guide to Building Your Dream Island

- Plan your layout. Measure your space and decide which features matter most. Pro tip: Sketch it out first unless you enjoy costly mistakes.
- Choose your storage features. Pick 3-4 must-haves from the “ingredients” list. Don’t overstuff—this isn’t a Thanksgiving plate.
- Customize your cabinetry. Opt for deep drawers for pots, shallow ones for utensils, and vertical slots for baking sheets.
- Add hidden compartments. Install a tilt-out tray for sponges or a slide-out bin for trash.
Out of sight, out of mind.
- Incorporate open shelving. Use it for frequently grabbed items like oils or cookbooks. Just keep it tidy—this isn’t a museum for mismatched mugs.
- Finish with smart extras. A pop-up outlet or wine rack? Yes, please.
How to Keep Your Island Organized
Storage only works if you use it right.
Group similar items together—baking supplies in one drawer, spices in another. Use dividers for utensils so they don’t turn into a metal spaghetti pile. And for the love of sanity, label everything.
Future you will thank past you.
Why This Recipe Works

A well-designed kitchen island cuts chaos, saves time, and makes cooking feel less like a chore. No more wasting minutes searching for the potato peeler or stubbing your toe on a poorly placed stool. It’s like giving your kitchen a caffeine boost—everything just runs smoother.
Common Mistakes to Avoid
- Overloading on features. You don’t need a microwave drawer, a wine fridge, and a breakfast nook in one island.
Pick your battles.
- Ignoring workflow. Place trash bins near the prep area, not by the seating. Unless you enjoy walking across the kitchen dripping onion peels.
- Skimping on quality. Cheap drawers will stick, sag, or collapse under the weight of your cast-iron collection. Don’t be penny-wise and pound-foolish.
Alternatives If You’re Not Ready to Renovate

No budget for a custom island?
Try a rolling cart with baskets for extra storage. Or repurpose an old dresser—paint it, add hooks, and boom, instant island. IKEA hacks also work in a pinch.
Just don’t pretend it’s as good as the real thing.
FAQs
How much does a storage-savvy kitchen island cost?
Prices vary wildly. A basic DIY version might run $500-$1,000, while a custom-built one can hit $5,000+. It’s like asking how much a car costs—depends on whether you want a Honda or a Ferrari.
Can I add storage to an existing island?
Absolutely.
Install pull-out shelves, hang a rack underneath, or add a freestanding organizer inside a cabinet. It’s like giving your island a storage glow-up.
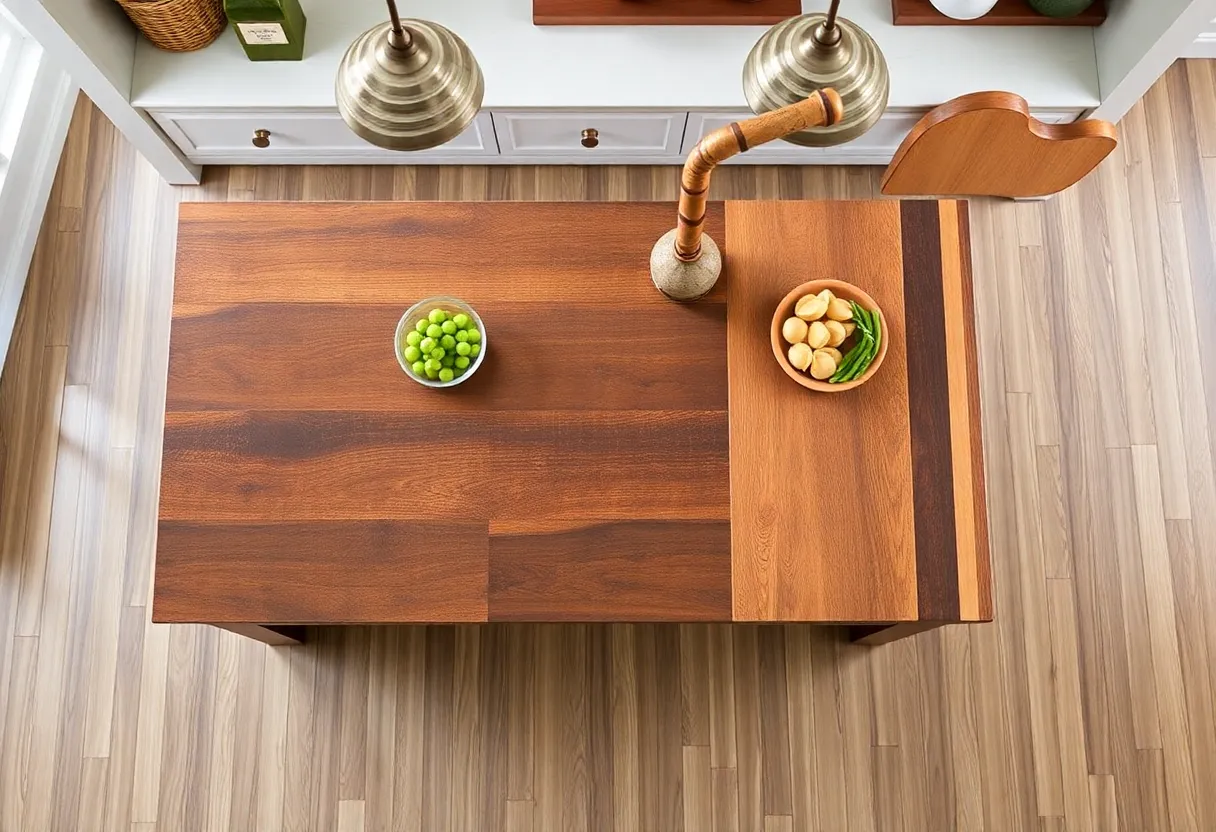
What’s the best material for a durable island?
Hardwood or plywood with a sturdy finish holds up best. Avoid particleboard unless you enjoy sagging shelves and regret.
How deep should the drawers be?
At least 18 inches for pots and pans, but keep utensil drawers shallow.
Nobody needs a black hole where spatulas go to die.
Final Thoughts
A kitchen island shouldn’t just take up space—it should earn its keep. With these ideas, you’ll transform it from a passive counter into a storage superhero. Whether you go full renovation or hack your way to functionality, the goal is the same: a kitchen that works as hard as you do.
Now go forth and conquer the clutter.